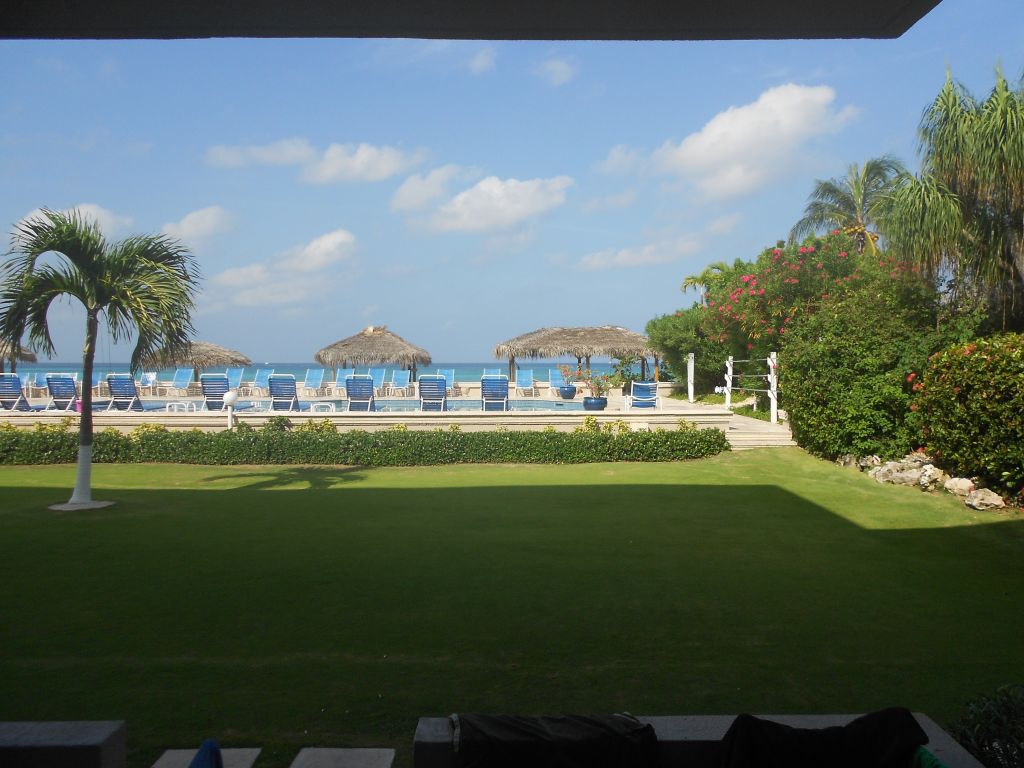
Yes,even a guy who is building a Hobbit house needs a vacation. I don’t know why but I keep thinking of an old Bugs Bunny cartoon where Elmer Fudd goes on vacation to get “west and wewaxsation.” Grand Cayman…what a place for west and wewaxsation. I think I took about fifty naps on the beach. It was great. Did a bit of scuba diving as well….that’s why some people call me Scuba Jim. We had a lot of laughs, too. I mean check out the veiw from our room.
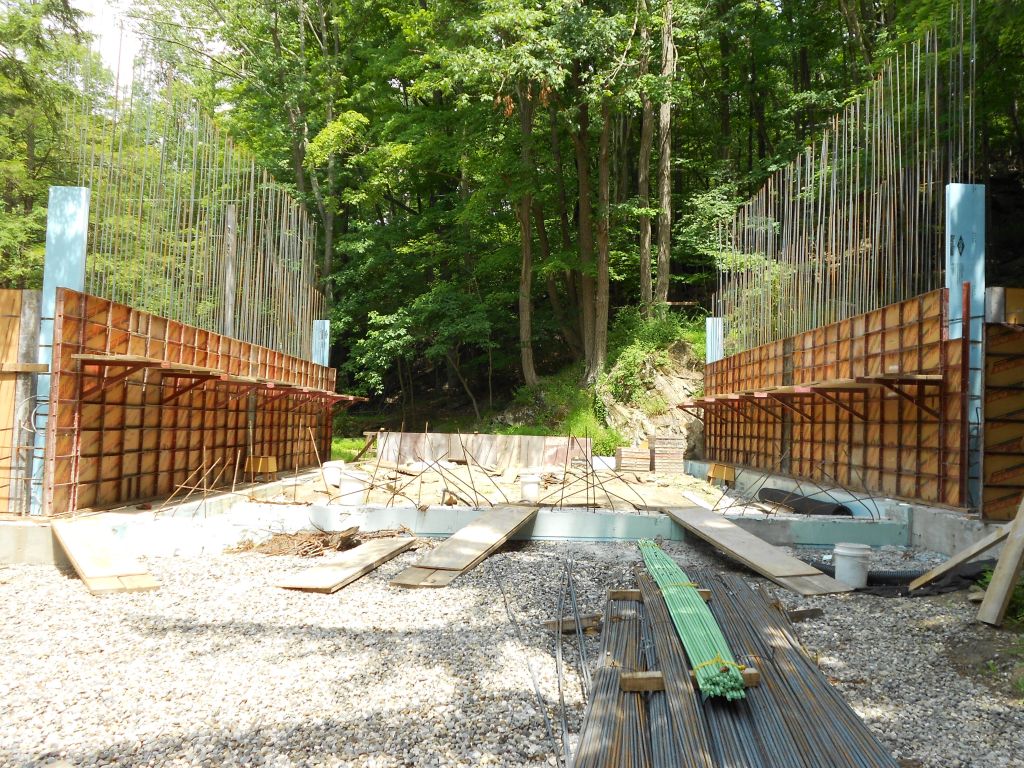
It was good to get away for a while. We got home late Saturday night around 10 PM so there is not much new to share with you. The crew did some miscellaneous form close up and installed the scaffold for the pour. Here’s a picture of how they finished up before we left for vacation.
One of the things I wanted to incorporate into the pour was some exterior outlets. I don’t know about you but most houses never seem to have an exterior outlet where you need one. So I wanted enough exterior outlets on the house so I would never have to drag extension cords all over the place. It’s a little hard to explain but the exterior GFI outlets will be in the four outside corners of the house where there will be exposed concrete. These outlets are going to be outside the thermal envelope of the structure. I don’t know if you remember the poly coated BX electrical cable I put in the footing pour, but I set that in place so that there would be no air sealing issues with the exterior electric. Keep in mind Hobbit houses are Passive houses so the devil is in some of these small details that are in general taken for granted.
This electrican foreman ,Tony, on the job I was on set me up with connecting all of this together. It worked really well. I’ll show you with a few pictures.
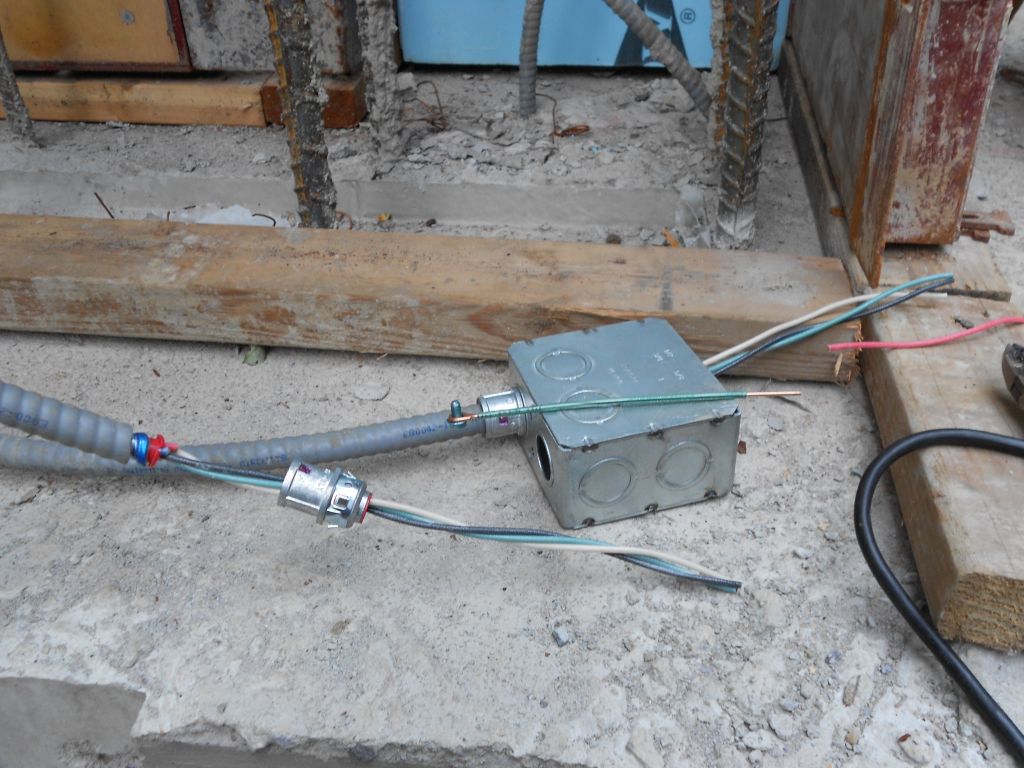
This shows the box for the exterior outlet being wired. Tony gave me these special snap on connectors you push onto the end of the cable.Once they’re on the connector just snaps into the box and you are good to go. Don’t forget the red bushing on the left. It helps insulate the wires from any sharp edges the metallic BX sheathing might have. Tony said I didn’t need it but I also added a ground wire to each box, too.(The green wire on top of the box with the screw attached to it.) You just screw that into the inside of the box. You can also see the two wires coming out of the footing. They’re both on the outside of the blue insulation which is the thermal envelope barrier.
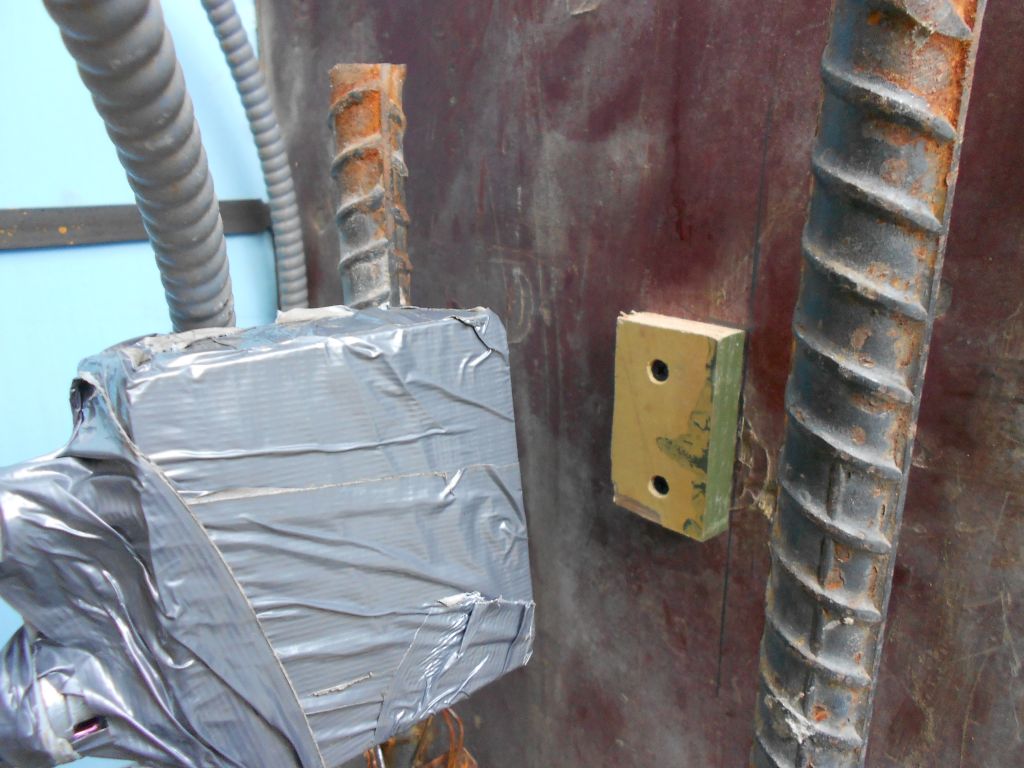
This is how I attached the box where I wanted it. Just cut a piece of plywood a little smaller than the box opening. Figure out the elevation you want the box at and screw it in place. Tony told me to wrap the box in duct tape so concrete doesn’t get in there when you pour. I think I went a little overboard with the duct tape.
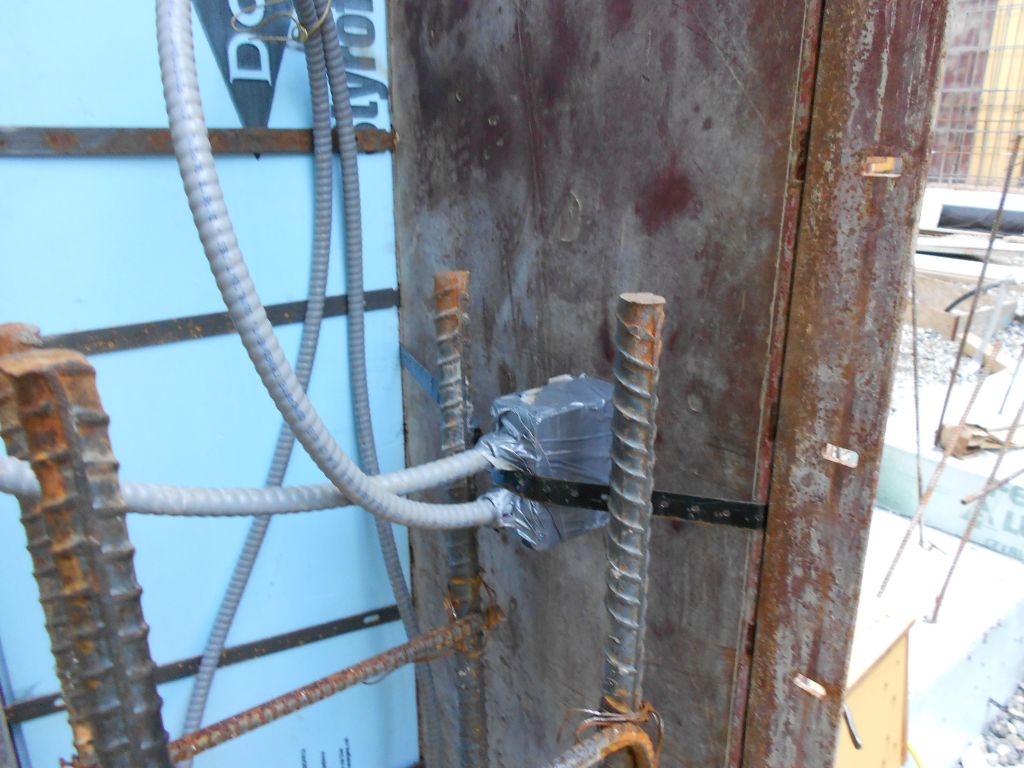
Ah yes our old friend banding wire sure comes in handy doesn’t he? Once I tensioned this banding wire around the box and the wall form an elephant couldn’t move it.
It took me about two hours to do these boxes by the time I set up and put everything away. It is amazing how long the little stuff takes some times.
Well that’s all for now. There is a lot of little stuff that needs to get done next weekend. I’m hoping to pour the walls by August 10th if all goes well.
One last picture from Cayman:

Only kidding!
Jim
Wonderful, what a wwebpage it is! This blog provides useful facts to us, keep iit up.