Welcome back. I hope all the free folk of Middle Earth are doing well. It sure seems like a long time since my last post. At least for me it does. Last Sunday was Mother’s Day here in the United States and we had two birthdays as well last weekend. My son Jude on Friday and Terence on Monday. So it was quite busy here last weekend and I didn’t really have a lot of time to spend on writing a post.(It really does take me a long time) Oh yeah, I almost forgot,we also had my wife’s family over for Sunday brunch. About 16 of us altogether. I cooked the eggs and bacon. I thought two pounds of bacon would be more then enough. I was wrong. Three pounds would have been more like it. I could not believe how much bacon these damn kids ate. I bit my tongue and said nothing. I mean it’s Mother’s Day. I mean the last thing I need is that battleaxe of a mother in law of mine yelling at me for not letting the kids have what they want. And bacon isn’t cheap either! This post is really starting to spiral downward. So let’s get started shall we. (And actually get along really well with my mother in law, I just had to throw that in there to break chops a bit.)
Where were we.The last post showed the begining of the footing forms etc. For all intents and purposes last Saturday was just a continuation of the same thing. I worked a full day last Saturday but boy what a miserable day it was. Overcast light rain on and off right from the start. I probably could have gotten more done if it was nicer out.Around 3:00 o’clock it started to rain pretty hard. When I heard thunder I knew it was time to wrap it up.
This weekend I wanted to finish the footing forms.. I was up early and got a good start. I was pretty much done by 10:30. I had my daughter Georgia go to the rental store and pick up the flat plate tamper again. Why? Well as I was setting the footing forms I noticed that in a lot of spots I had to excavate some of the gravel to get the form to the correct elevation. This means we placed the gavel too high. So what we had to do is remove gravel in some spots and add it to others. Once that was done we raked it level and then had to retamp the whole thing.
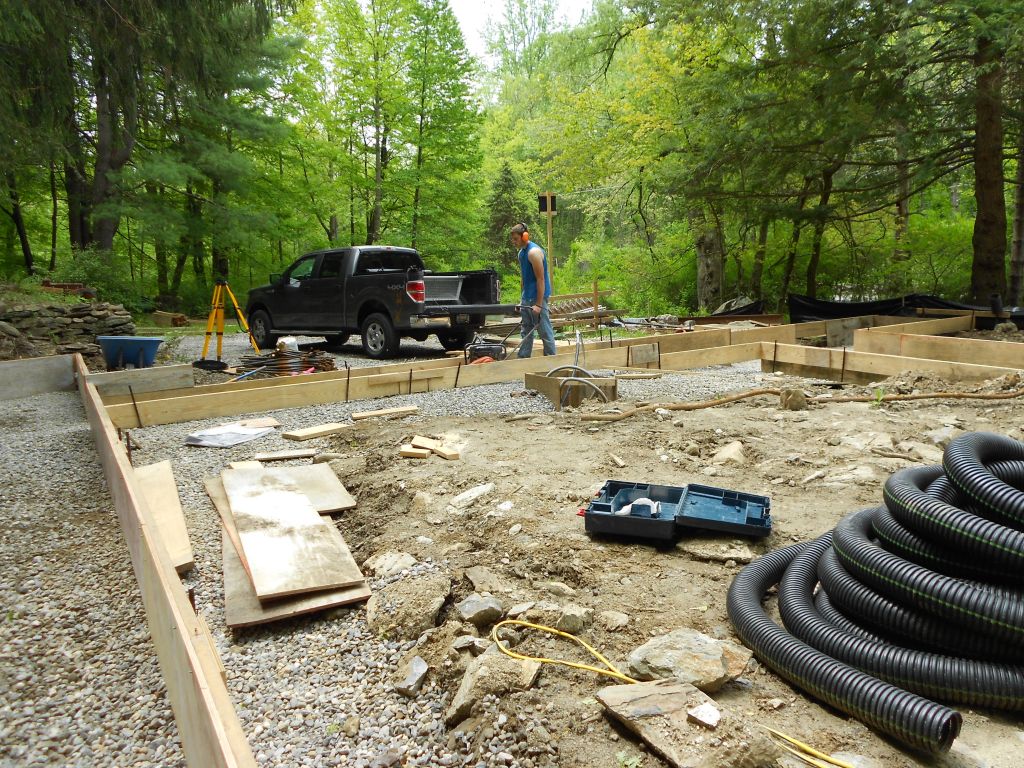
My daughter just returned from college this past week so it was her first day back at the site. She was pretty surprised at how much we had done since she was last here. One of the reasons I started this construction blog was to show people what building a house is really like. Most people just don’t know or understand how a house is built. So my daughter gets to the site and I had her and her brother wrap up the string lines I had up. She’s walking inside the formwork and says, “Wow this is so cool! So what are these things? Is this like where a hallway is going to go? ” Here’s a picture of where she was walking.
I don’t know if that was a location joke (You had to be there.)but I got a kick out of it. Even though I thought it was funny it gets back to people really not understanding how things are put together. There’s a lot of dirty work to do out there and somebody has to do it. This is one of the functions of this blog.
One of the things I spoke of in a previous post was the problem of bracing the forms to withstand the pressure of the concrete.We are going to be doing a number of different things but as I said before we want to make sure everything is secure so we avoid having a “blowout ” during the pour. Some of this “securing ” is going to seem like overkill but I want to sleep well the night before the pour so we are going to be extra careful.
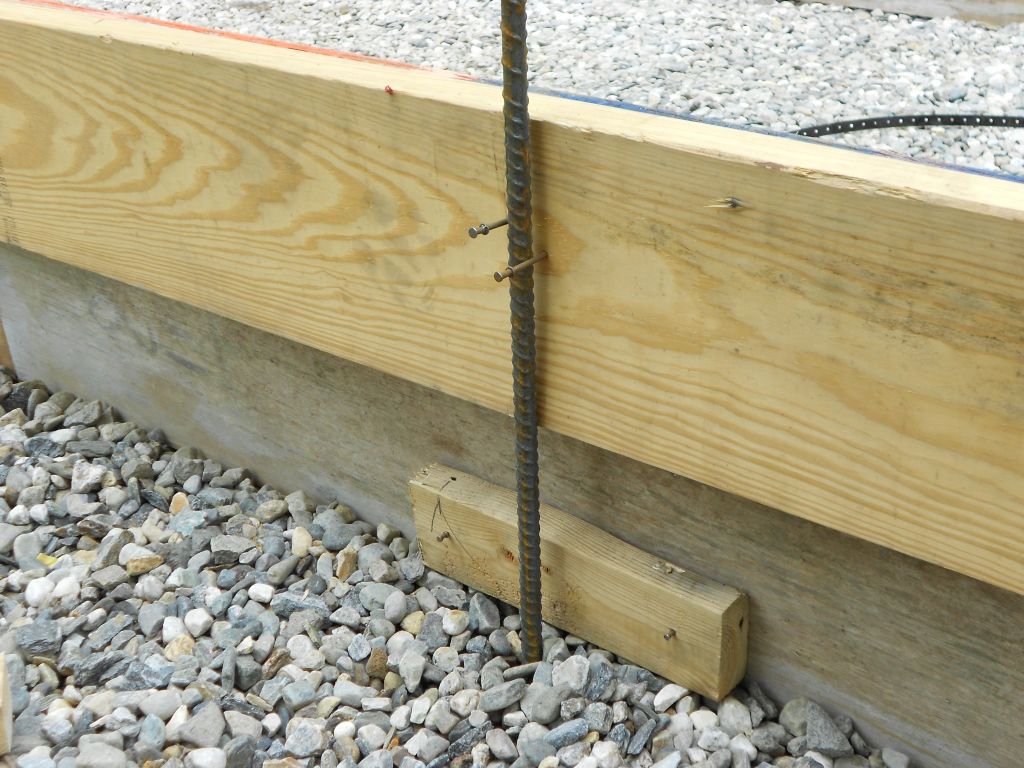
I used D-stakes to brace the forms but I don’t have enough of them to brace everything I need to. I used #5 rebar instead of them in other areas and clinched two 16 penny double head nails around them. At the bottom of the form I put a block and wedge to make up the space difference where the plank didn’t extend to the ground. This is important because this is where the most pressure will be when we pour the concrete and the plywood will move outwards until it hits the stake. Here’s a picture.
Securing the top of the form is imortant as well. I’ve seen a number of forms bend outwards as the concrete was poured. We are not going to secure the top just yet. What we are going to do is set up for it now. Before we put in the insulation and the rebar we are going to place perforated banding wire on the bottom of the footing and leave enough overhang so we can loop it around the whole form. After we do all our work we will take this loop and tension it with what we call a banding machine and clip it tight. This is a picture of what it is going to look like when we use the tensioner.

Banding wire is really strong and great in tension. There are a couple of other areas we will use this later on.
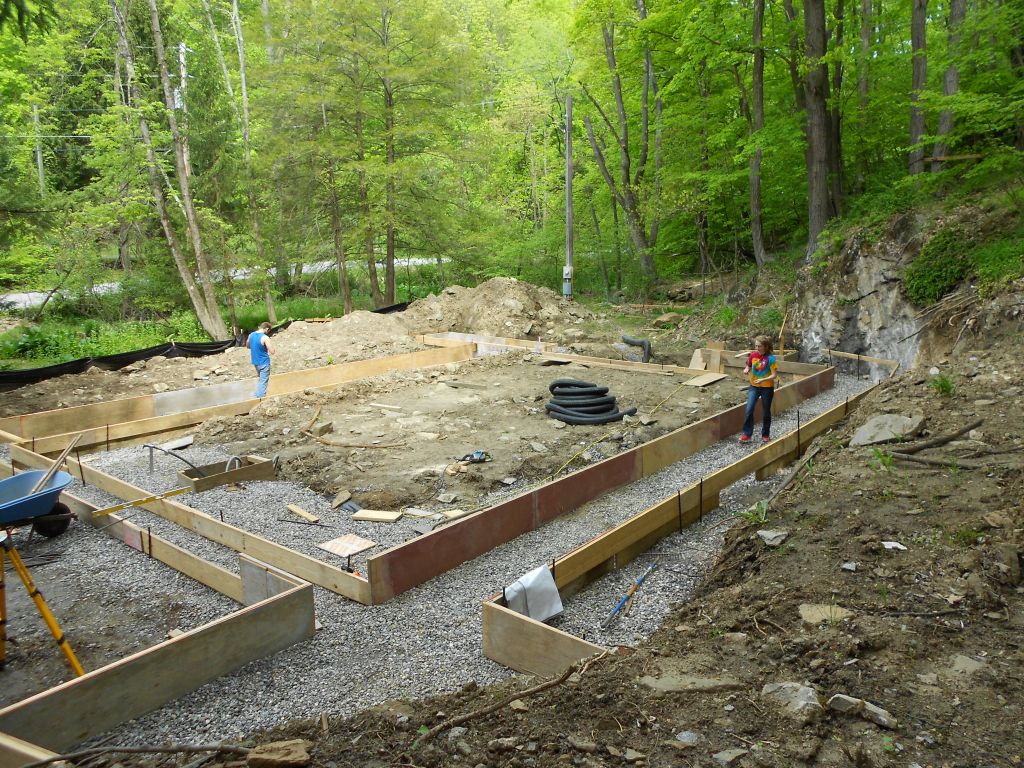
Here’s a picture of the site at the end of the day Saturday.

Next weekend I’m hoping to install the insulation and get the rebar going! Have a great week!
Jim